Pad printing: Printing on shapes that don't lie flat
Bring your brand to life
Explore over 1,000 customisable products designed to showcase your brand and leave a good impression.
Most people assume the hard part of branding a golf ball or a pen barrel is the design: shrinking a logo down, picking a colour that still reads at a small size. The hard part is getting ink onto a surface that has no flat plane to print on. A curved bottle, a rounded pen, a textured casing: none of them sit still under a screen or a digital transfer. Pad printing exists because someone had to solve that problem, not because it photographs well in a catalogue.
How We Decide
A client sends us a pen, a lighter, a keychain, a rounded casing, with a logo attached. We do not ask which print method they want first. We look at the product and choose the technique that fits its shape. If the surface is curved, textured, or irregular, pad printing is usually the answer before the meeting ends.
From Etched Plate to Finished Object
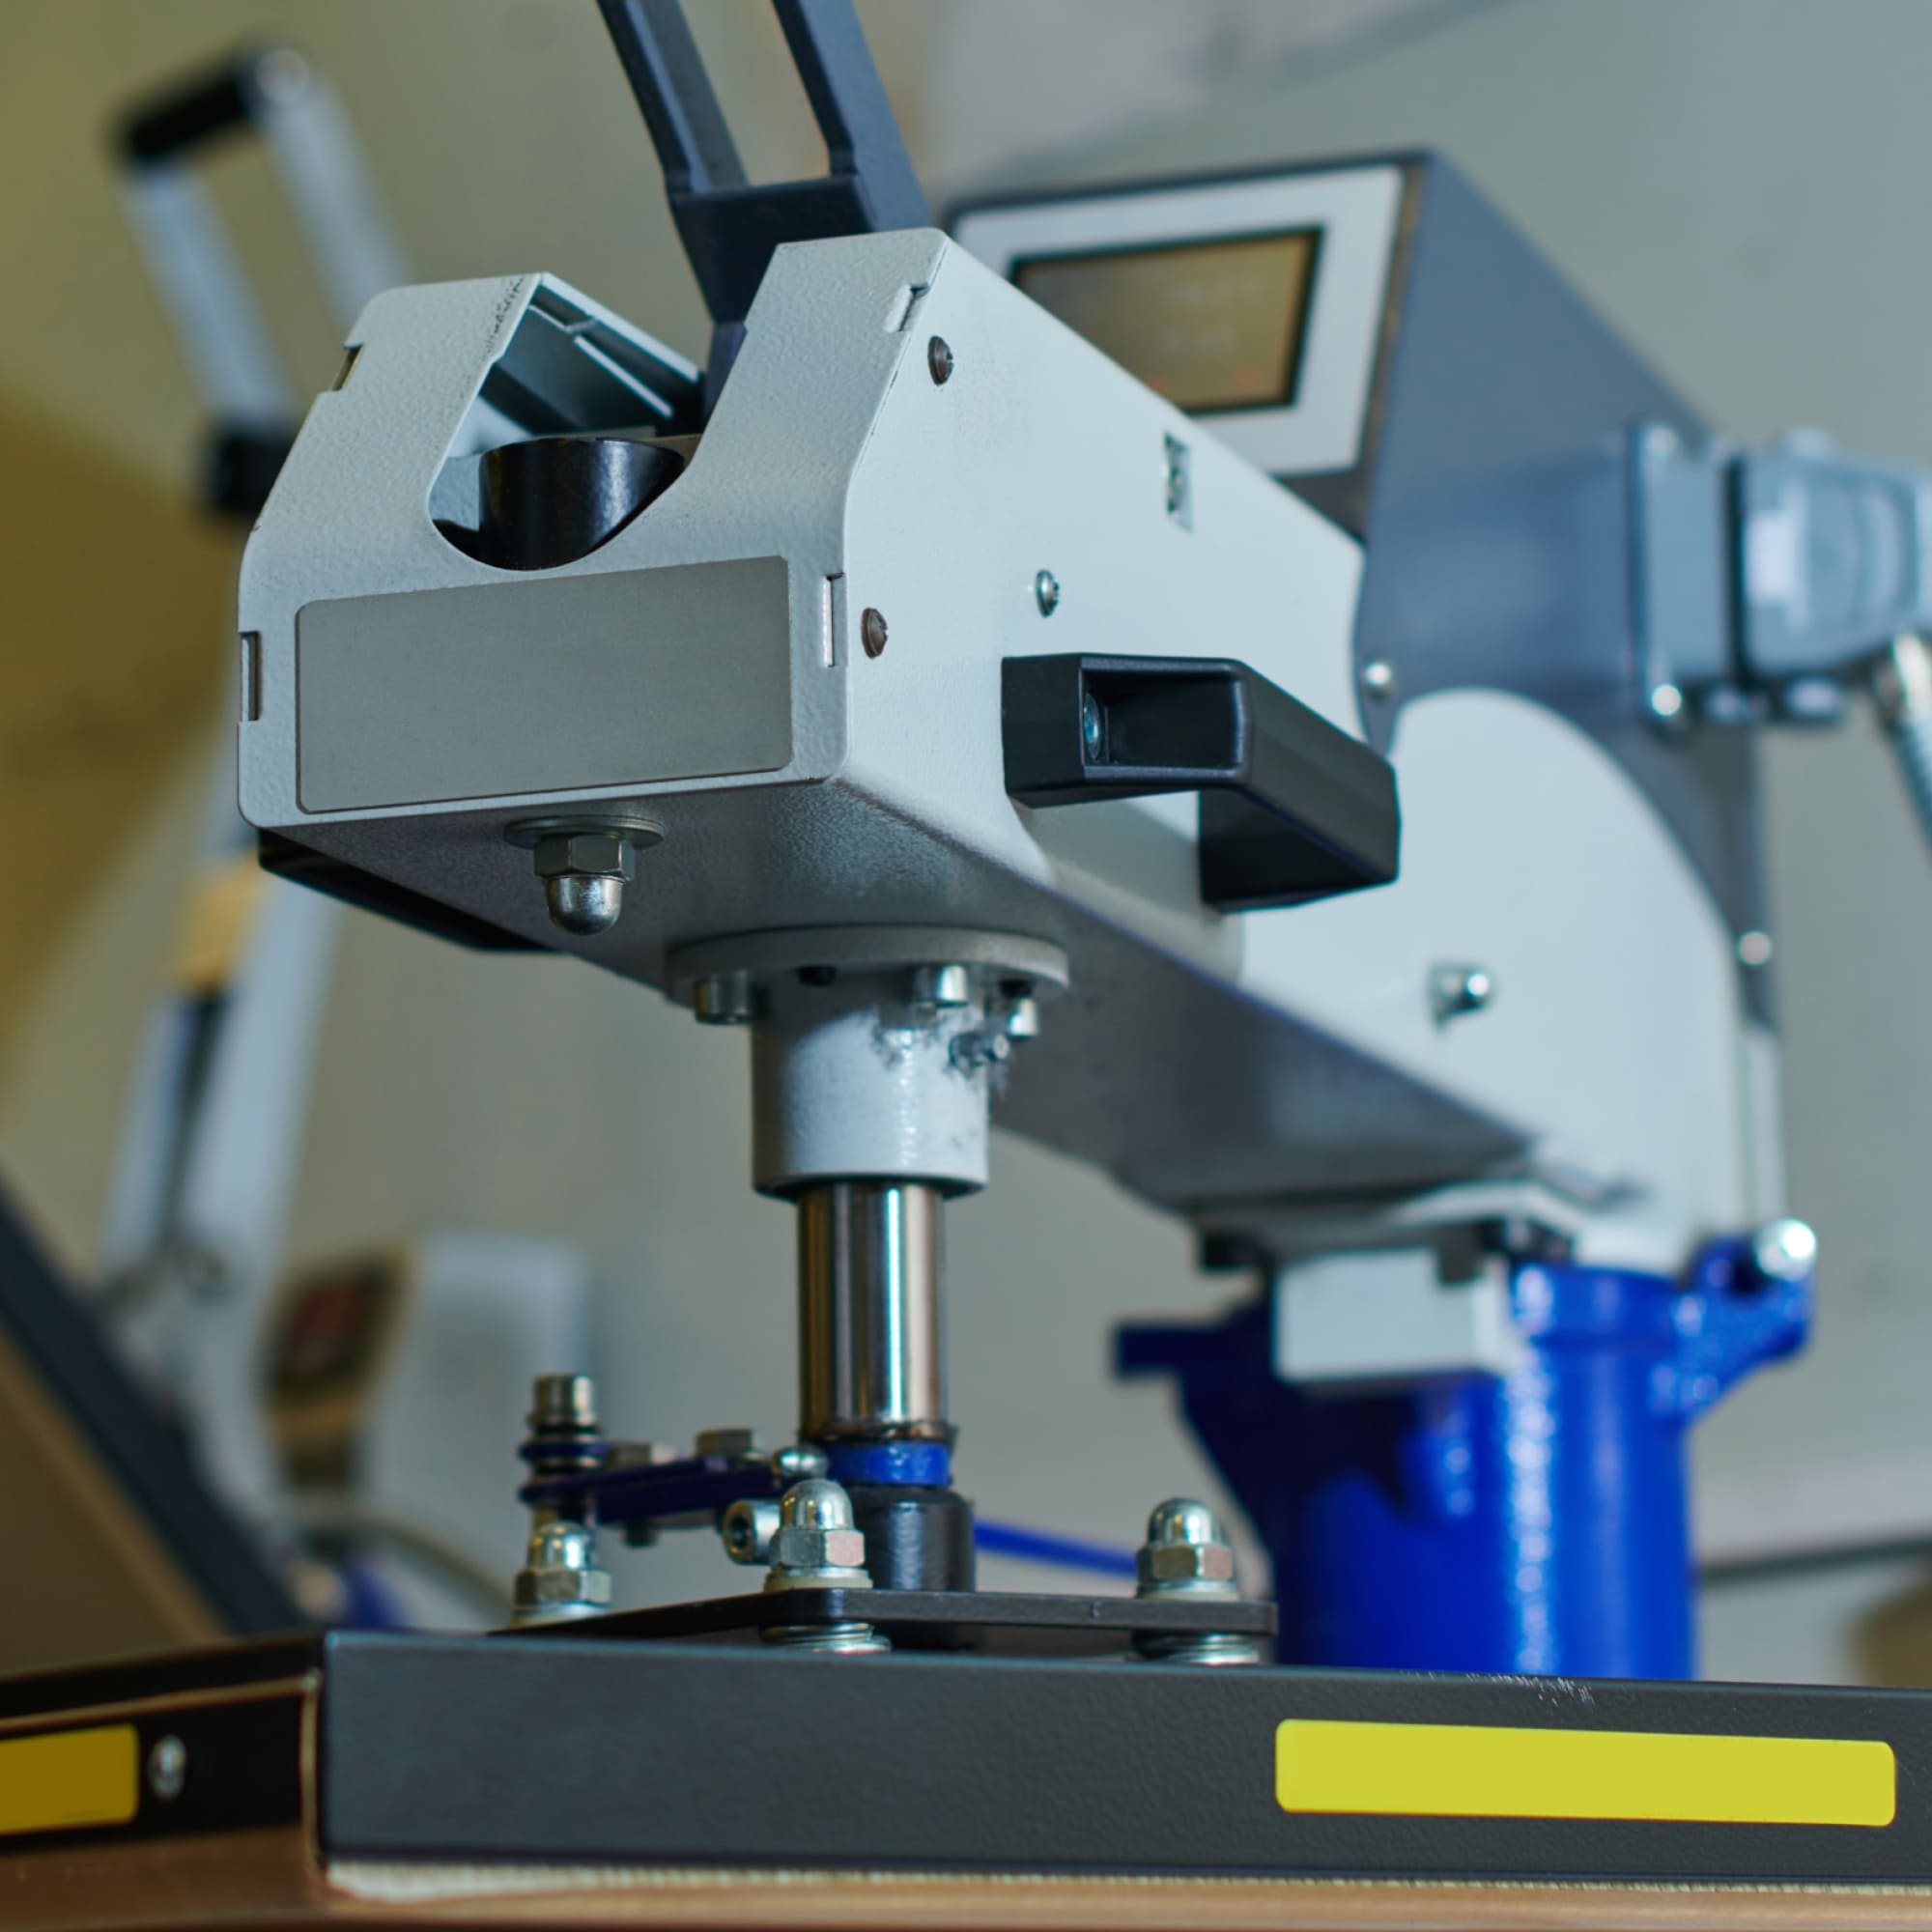
The process starts with a cliché: a metal or photopolymer plate with the design etched into it. An ink cup passes over the plate, filling the etched recesses and wiping the flat surface clean. A silicone pad presses onto the plate, lifts the ink out of the recesses, moves across to the object, and presses again. The design transfers, and the pad lifts away.
The pad does the actual work. It compresses into curves, contours, and textured surfaces that would defeat a flat screen. We choose its shape, hardness, and size for the object in front of us, not the other way round.
The ink itself is a two-component formula: colour base plus hardener, mixed fresh before a run. Get the ratio wrong and the print scratches off inside a week. That part does not show up in a product photo.
Where We Use It
Pens, keychains, lighters, golf balls: the small stuff with curves. That is the merchandise end of it. The same technique marks components and casings in electronics, labels equipment in the medical sector, and prints parts and accessories in automotive production.
For merchandise, we reach for it the moment a product has no flat side to print on. Not because it looks better than screen print. Because screen print is not an option.
What It Handles That Other Methods Cannot
A curved bottle. A rounded pen barrel. A textured grip. Pad printing handles all three, and it holds fine detail and small text at sizes that would blur under other methods.
Once the plate and pad are set, the result repeats. Run a thousand units and the five-hundredth looks like the first.
It is not a fast way to add colours. Each colour is its own plate and its own pass. Three colours means three separate runs across the same object, and the setup time is the trade for the shape flexibility.
What Slows It Down
The cliché and the pad wear. Both need maintenance and eventual replacement, a cost that sits underneath the unit price rather than on top of it.
Ink viscosity, pad pressure, and timing all need calibrating before a run starts. A small drift in any one of them shows up as a soft or incomplete print. This is not a technique we hand to someone in their first week.
When We Reach for Something Else
If the surface is flat and the colour count is high, we do not default to pad printing just because it is on this page. Screen print handles flat, multi-colour work faster. Digital transfer handles gradients and photographic detail that pad printing was never built for.
Pad printing earns its place on the curved, the small, and the low-colour job. Outside that, it is the wrong tool for the brief, and we say so before we quote it.
Plate, pad, ink, calibration. That is our corner of the business. And the question underneath it: not what the print looks like on day one, but whether it still looks like that after a year in someone's bag.
About the author
Chocolate Heart

Snapten Shopping Cart Token
Pany Lanyard with Metal Hook 20 mm